Last week, while Isabella was going through her Halloween costume ideas for the third time (trust me, the decision-making process is intense!), she suddenly looked at me with those big eyes and said, “Mom, can we make something spooky for my class party?”
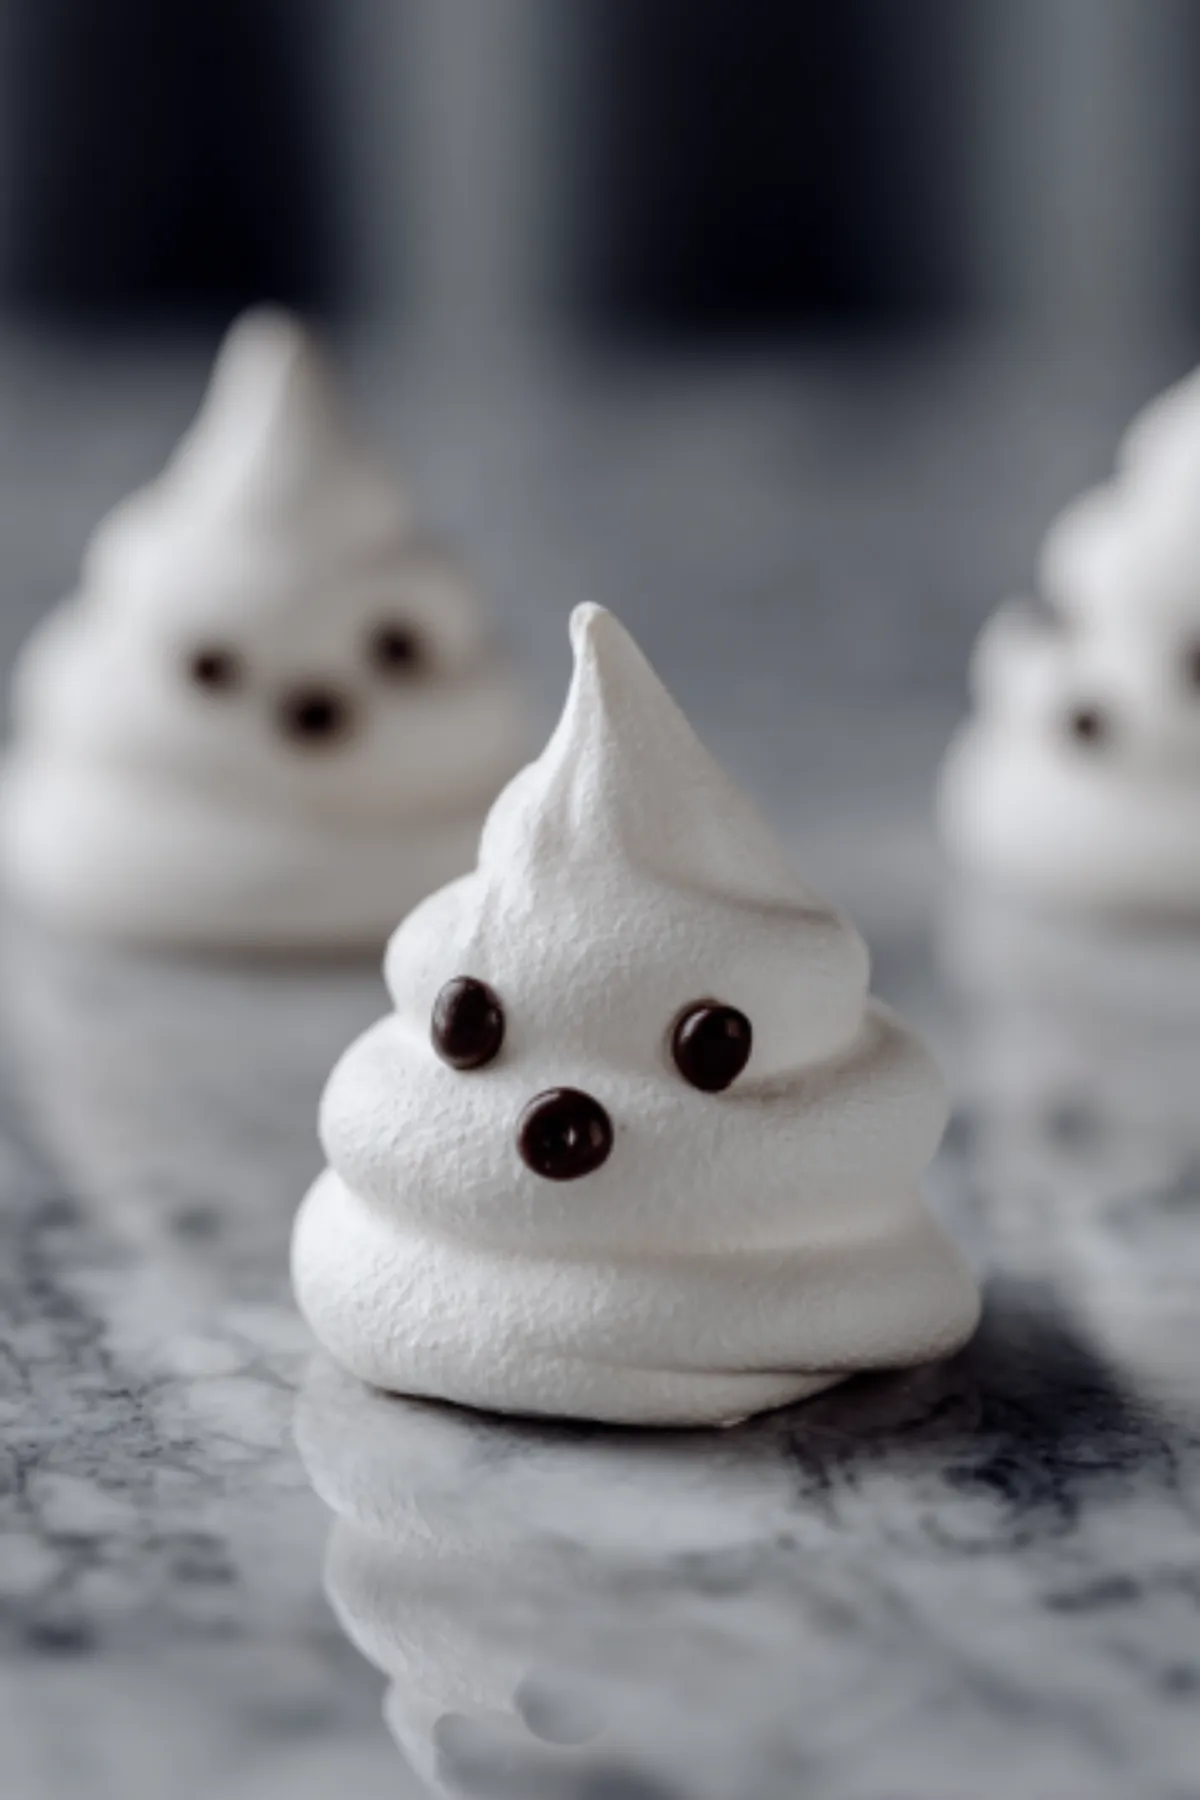
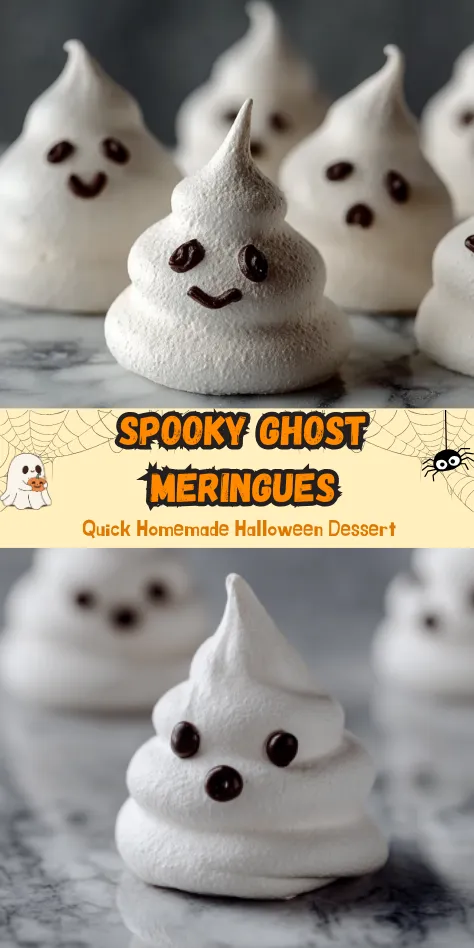
That’s exactly how these adorable ghost meringues came to life in our kitchen! I am so over-the-moon excited to share this Halloween meringue recipe with you because it’s honestly one of the easiest and most fun treats you can make with kids.
These little ghostly treats are basically clouds of sweetness that melt in your mouth, and the best part? You probably already have everything you need in your pantry. Plus, they’re naturally gluten-free, which makes them perfect for school parties where dietary restrictions are always a concern.
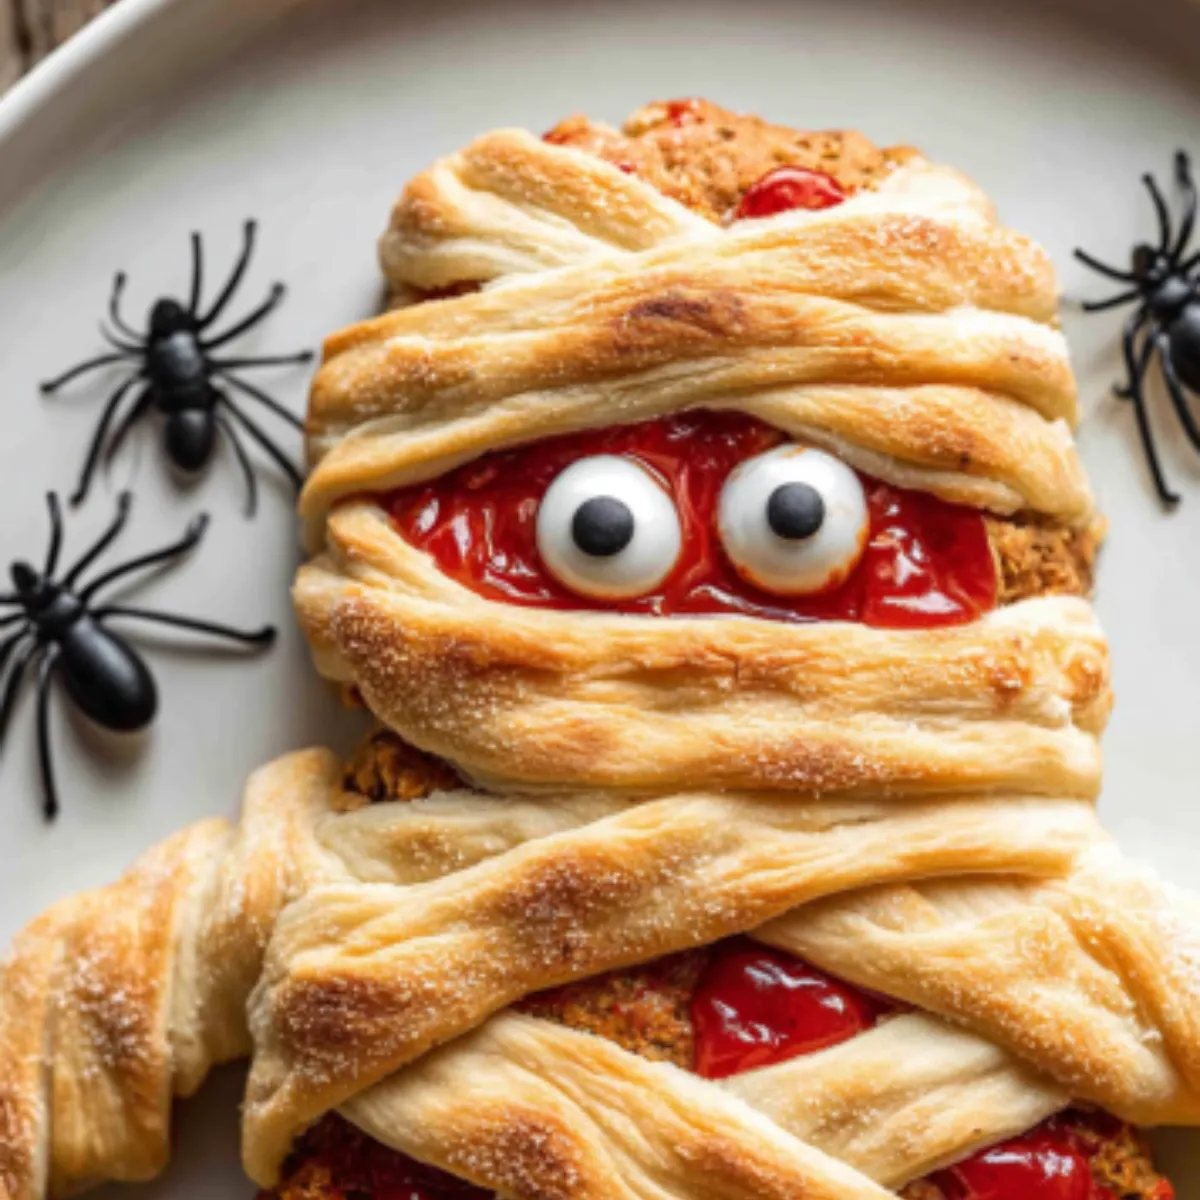
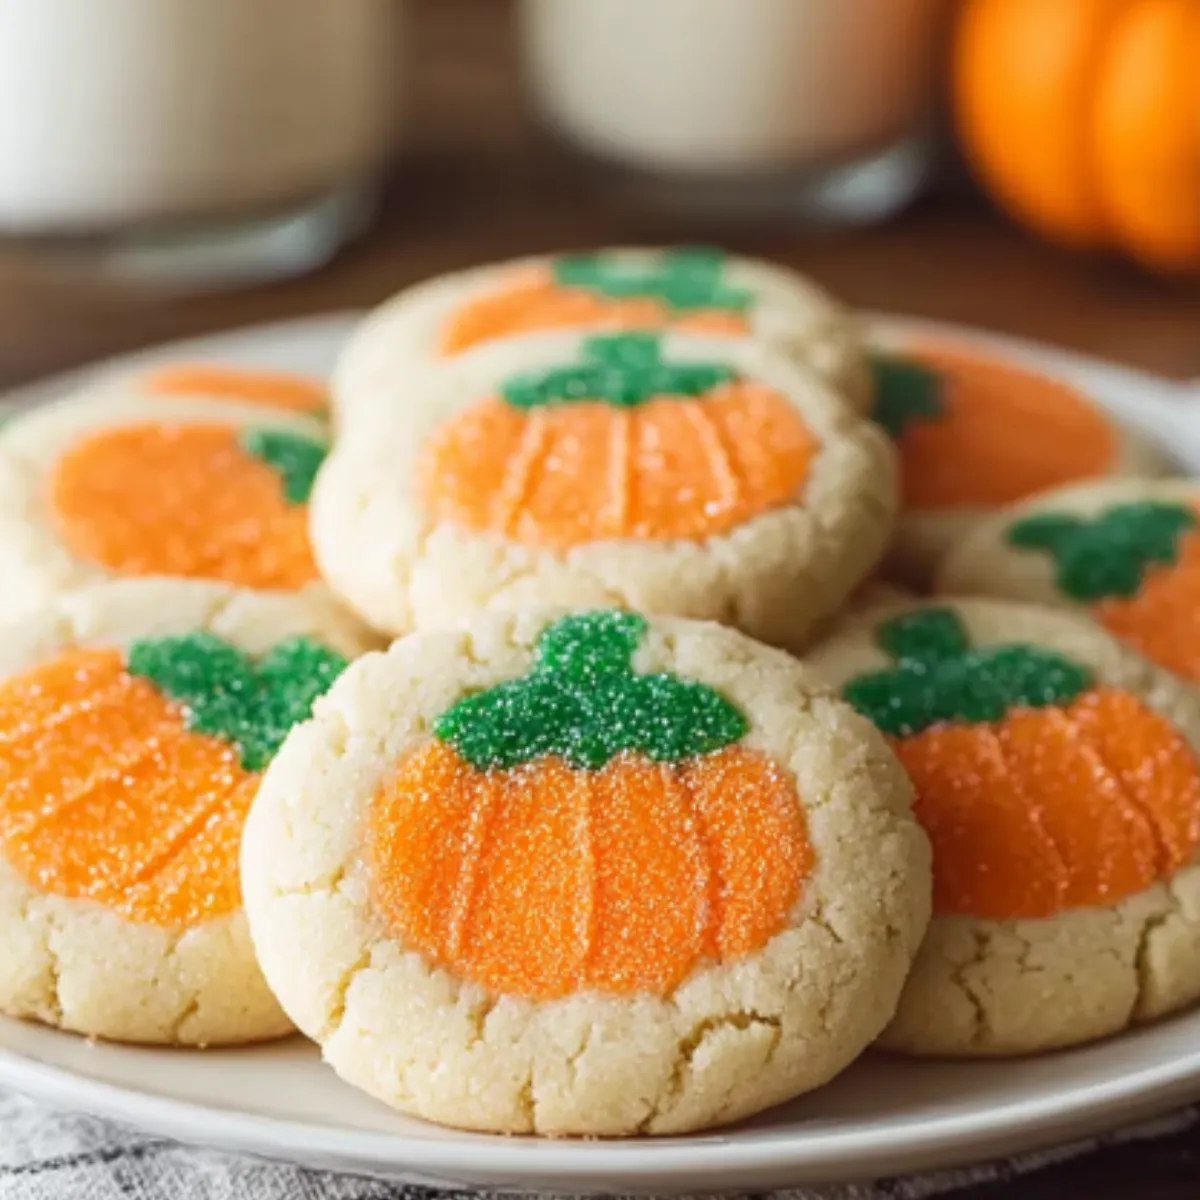
What I love most about this easy meringue ghosts recipe is that it transforms simple egg whites into something absolutely magical. The kids get so excited watching the transformation happen right before their eyes! For more delicious Halloween treats, check out my healthy pumpkin cookies recipe that pairs perfectly with these meringues.
Why You Will Love This Ghost Meringues Recipe
- Super simple ingredients Just egg whites, sugar, cream of tartar, vanilla, and a bit of chocolate
- Kid-friendly project Perfect for getting little hands involved in the kitchen
- Naturally gluten-free Great for those with dietary restrictions
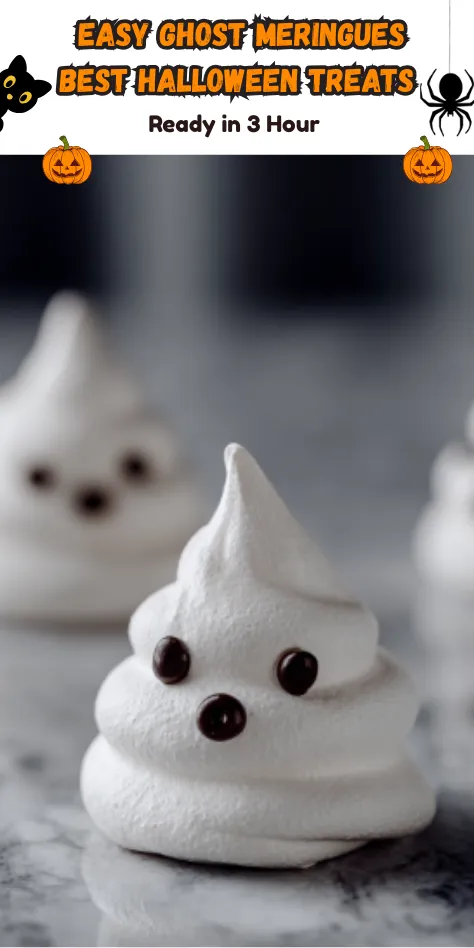
- Make-ahead friendly These can be prepared 1-2 days before your Halloween party
- Low in calories Each little ghost is practically guilt-free
- Beautiful presentation They look absolutely adorable on any Halloween spread
Ingredients for Halloween Meringue Recipe
- 3 large egg whites, room temperature
- ¼ teaspoon cream of tartar
- ¾ cup granulated sugar
- ¼ teaspoon vanilla bean paste (or vanilla extract)
- ½ ounce dark chocolate, melted
Pro tip: Make sure your egg whites are completely at room temperature – this makes such a difference in how well they whip up! I usually take them out about 30 minutes before I start baking.
How to Make Ghost Meringues Step by Step
1. Preheat your oven to 200°F and line a baking sheet with parchment paper or a silicone liner. Trust me, don’t skip the liner – these babies can stick!
2. In the bowl of a stand mixer fitted with the whisk attachment, add the egg whites and cream of tartar. Start whisking on medium speed until the mixture becomes frothy (this usually takes about 2-3 minutes).
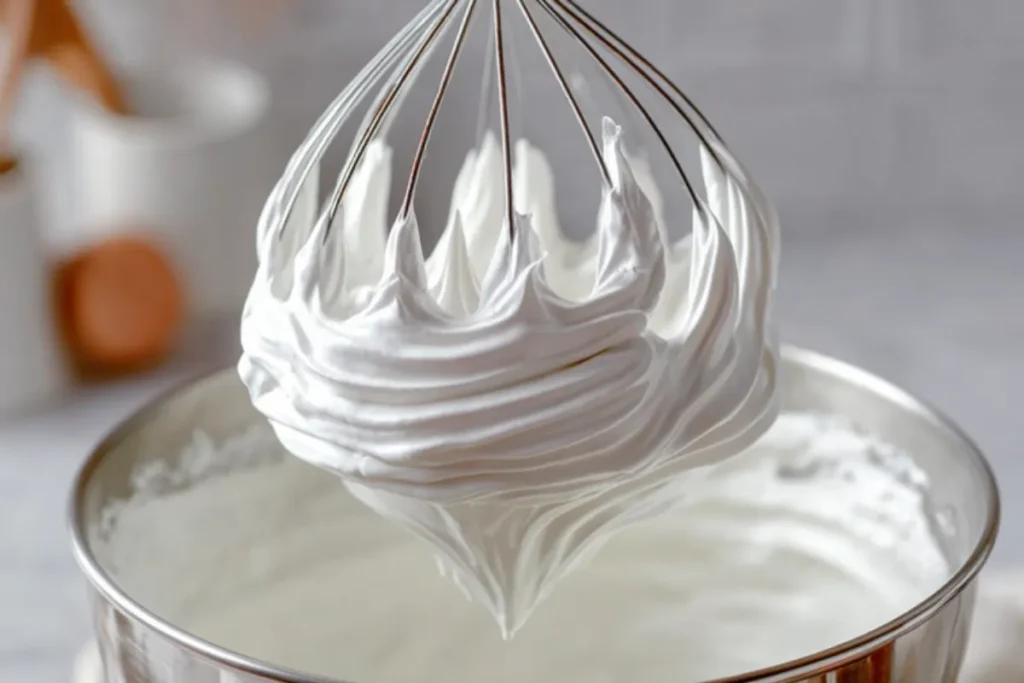
3. Here comes the crucial part – gradually add the granulated sugar about 1 tablespoon at a time. I know it seems tedious, but this slow addition is what creates that perfect, glossy texture we’re after.
4. Increase the mixer speed to medium-high and beat until soft peaks form. This typically takes about 5-6 minutes, then add in the vanilla bean paste.
5. Continue beating until the meringue holds stiff, glossy peaks. You’ll know it’s ready when you can turn the bowl upside down and nothing falls out (though maybe don’t try this over your clean floor!).
6. Spoon the meringue into a piping bag fitted with a large round tip. If you don’t have a piping bag, a large ziplock bag with the corner cut off works perfectly fine.
7. Hold the bag perpendicular to your baking sheet and pipe 2-inch high mounds, spacing them about 1 inch apart. Don’t worry about making them perfect – wonky ghosts have more personality anyway!
8. Bake at 200°F for 1 hour, then turn off the oven and let them continue drying for another 1-2 hours. This low and slow method is what gives them that perfect crispy exterior.
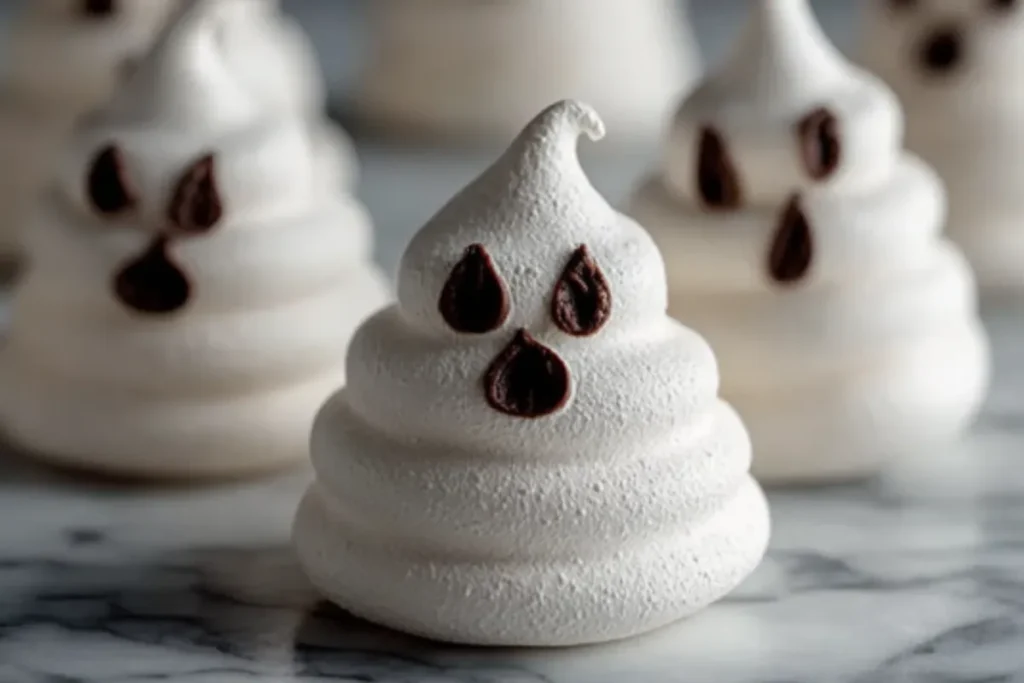
9. Once completely cool, use the melted dark chocolate and a small food-safe paintbrush to paint on those adorable ghostly faces.
Storage & Reheating Tips for Easy Meringue Ghosts
These ghost meringues are actually quite forgiving when it comes to storage! Once they’re completely cooled and decorated, store them in an airtight container at room temperature.
They’ll stay crispy for up to 3 days, though honestly, they rarely last that long in our house. Just make sure they’re completely dry before storing, or they might get a bit chewy.
Important note: Don’t refrigerate these! The moisture in the fridge will make them soft and sticky. Room temperature storage is definitely the way to go.
Creative Variations for Your Halloween Meringue Recipe
Once you master this basic technique, you can have so much fun with variations! Here are some ideas that have been huge hits with my family:
- Orange ghosts – Add a tiny drop of orange food coloring for pumpkin-colored spirits
- Chocolate ghosts – Fold in a tablespoon of cocoa powder for chocolate-flavored meringues
- Mini ghosts – Make them bite-sized for little hands
- Different faces – Try surprised expressions, winking ghosts, or even happy smiles
You could also pipe them into different Halloween shapes – think bats, pumpkins, or even little witch hats! The possibilities are truly endless, and that’s what makes this recipe so special.

Frequently Asked Questions About Ghost Meringues
Can I use other types of sugar instead of granulated sugar?
It’s really best to stick with granulated sugar for this easy meringue ghosts recipe. The granulated sugar dissolves properly and creates that smooth, glossy texture we’re looking for. Superfine sugar can work in a pinch, but avoid brown sugar or powdered sugar as they’ll change the texture completely.
How do I know when the meringues are fully dried?
Your ghost meringues should feel crispy to the touch and easily lift off the parchment paper without sticking. If they’re still soft or chewy, pop them back in the turned-off oven for another 30 minutes. The key is patience – rushing this step will result in chewy rather than crispy treats.
Can I make these Halloween meringue recipe treats ahead of time?
Absolutely! This is actually one of my favorite make-ahead Halloween treats. You can prepare these ghost meringues up to 2 days before your party. Just store them in an airtight container at room temperature, and they’ll maintain their crispy texture perfectly.
Final Thoughts on Making Ghost Meringues
These ghost meringues have honestly become one of our family’s favorite Halloween traditions. There’s something so magical about watching simple egg whites transform into these adorable little spirits that never gets old.
What I love most is how this recipe brings everyone together in the kitchen. Henry usually handles the chocolate melting (he’s oddly particular about tempering chocolate), while the kids take turns with the piping bag. It’s become one of those recipes that creates memories alongside the treats.
The best part? Even if your ghosts turn out a little wonky or lopsided, they still taste absolutely divine. In fact, some of our most beloved batches have been the ones where the kids went a little creative with the piping!
So grab those egg whites, put on some spooky music, and get ready to create some Halloween magic in your kitchen. Trust me, these easy meringue ghosts are going to be the hit of whatever Halloween celebration you’re planning.
More Halloween Treats You’ll Love
If you’re planning a full Halloween spread, here are some other recipes that pair beautifully with these ghost meringues:
- Healthy Pumpkin Chia Seed Pudding Recipe A nutritious Halloween dessert
- Protein Pumpkin Smoothie Bowl Recipe Perfect for Halloween morning
- Roasted Pumpkin Salad with Quinoa Feta A savory Halloween side dish
Happy Halloween baking!
Amelia
Print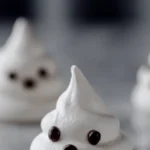
Easy Ghost Meringues for Halloween
Description
Adorable ghost meringues that are perfect for Halloween parties – these spooky sweet treats are naturally gluten-free and melt in your mouth like clouds of sweetness.
Ingredients
- 3 large egg whites, room temperature
- ¼ teaspoon cream of tartar
- ¾ cup granulated sugar
- ¼ teaspoon vanilla bean paste (or vanilla extract)
- ½ ounce dark chocolate, melted
Instructions
- Preheat your oven to 200°F and line a baking sheet with parchment paper or a silicone liner.
- In the bowl of a stand mixer fitted with the whisk attachment, add the egg whites and cream of tartar. Start whisking on medium speed until the mixture becomes frothy (about 2-3 minutes).
- Gradually add the granulated sugar about 1 tablespoon at a time.
- Increase the mixer speed to medium-high and beat until soft peaks form (about 5-6 minutes), then add in the vanilla bean paste.
- Continue beating until the meringue holds stiff, glossy peaks.
- Spoon the meringue into a piping bag fitted with a large round tip.
- Hold the bag perpendicular to your baking sheet and pipe 2-inch high mounds, spacing them about 1 inch apart.
- Bake at 200°F for 1 hour, then turn off the oven and let them continue drying for another 1-2 hours.
- Once completely cool, use the melted dark chocolate and a small food-safe paintbrush to paint on ghostly faces.
Notes
Make sure egg whites are completely at room temperature for best results. Store in an airtight container at room temperature for up to 3 days – do not refrigerate as moisture will make them soft and sticky.